CoreOS Stack and Instance Setup in AWS
NOTE: These instructions are not meant for production installs, but only for demos and proof-of-concept projects. A reboot or shutdown from the AWS interface will wipe the content of your instance.
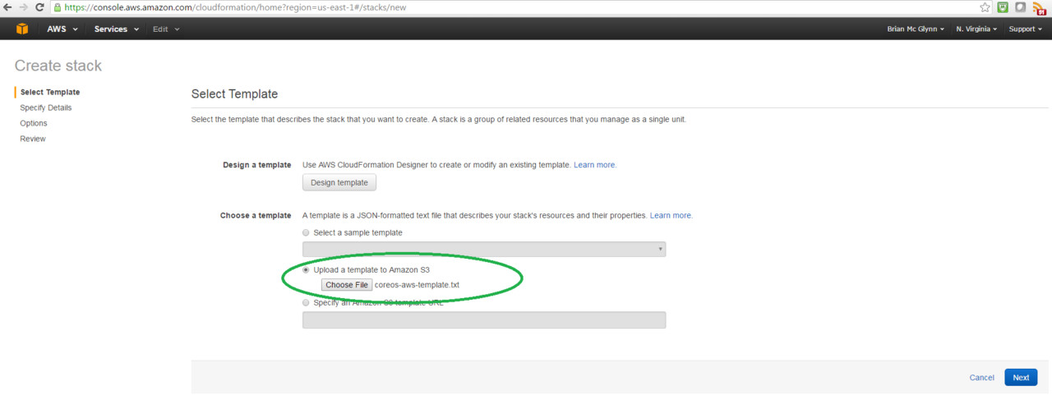
Step 1:
Go to AWS Cloud Formation to create a new stack:
https://console.aws.amazon.com/cloudformation/home?region=us-east-1#/stacks/new
On that page you will upload the following template file.
This template file is an amended version of the "official" template from CoreOS. Primary changes:
- Default root volume size is set to 50GB.
- Firewall settings are fully open.
- Default instance type is set to m3.xlarge
- Minimum cluster size is set to 1.
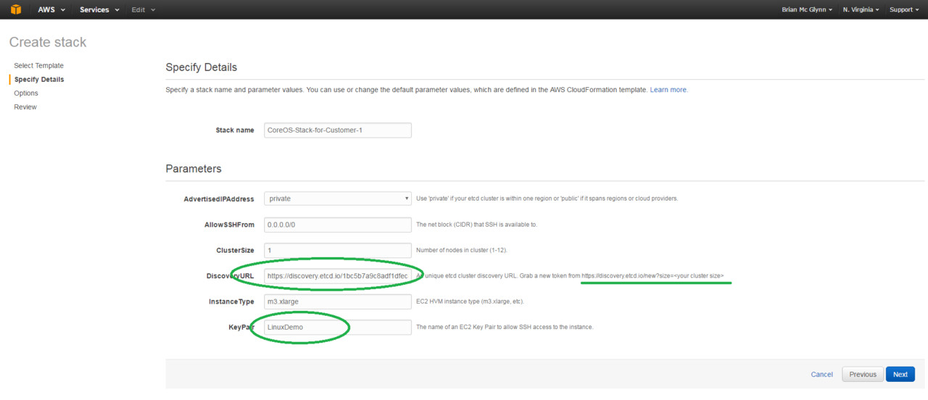
Step 2:
Fill in stack details as required.
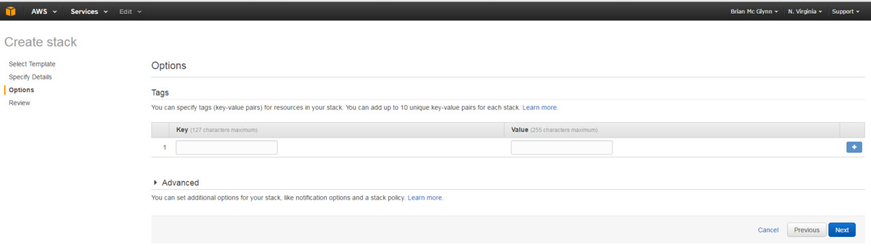
Step 3:
You can leave these fields blank.
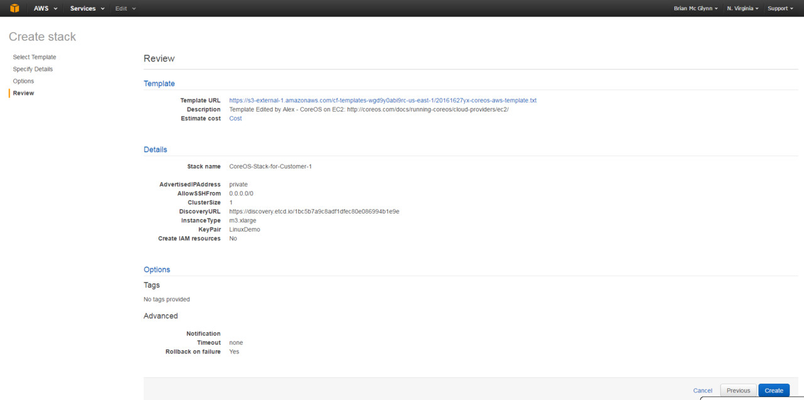
Step 4:
Review and click the Create button.
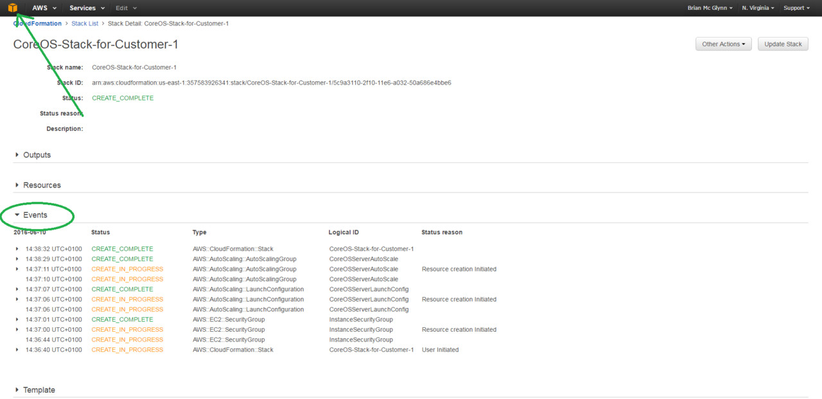
Step 5:
You will see the creation of the stack in progress. Click on the stack name to see the logged events, so as to catch any errors that may appear.
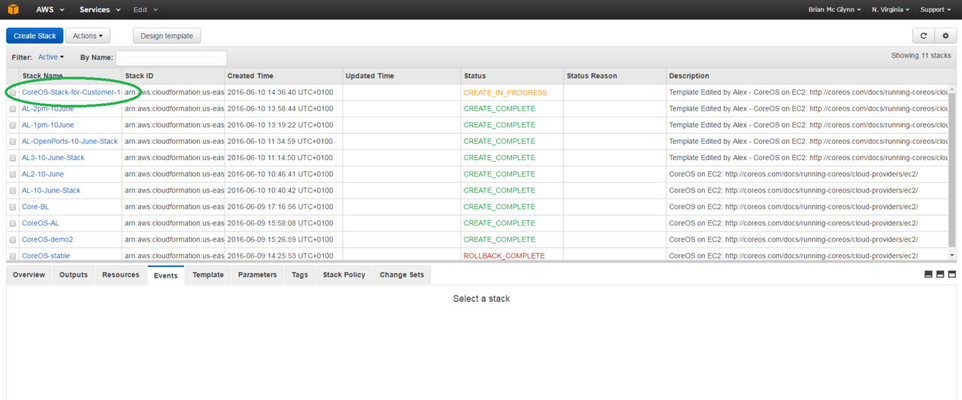
Step 6:
When the stack is created, click on the box in the top left corner.
Step 7:
Click on EC2.
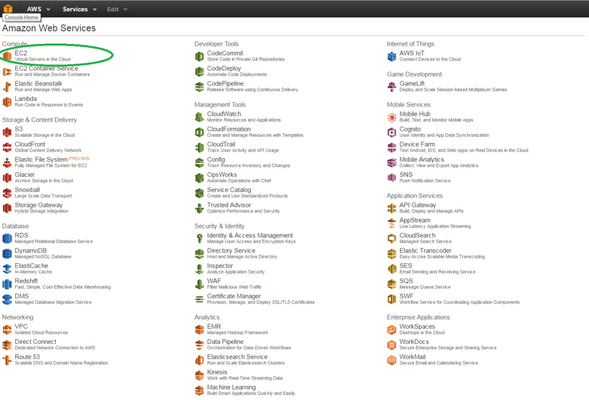
Step 8:
Go to the Instances list.
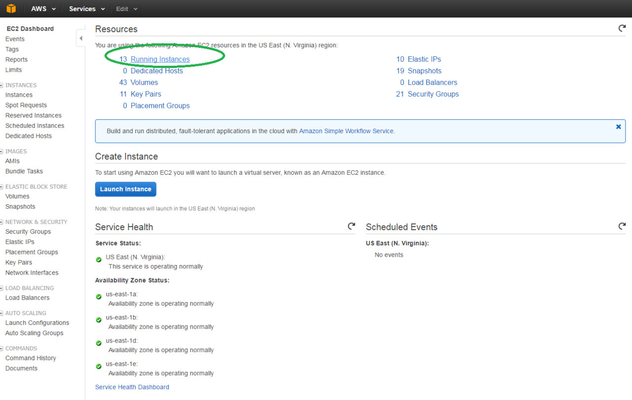
Step 9:
You should now be able to find your new instance in the list.
Step 10:
Login with the appropriate PEM file selected in Step 2 and username core.